Top grenade locations in Dust 2 – Since its launch in 2012, CS: GO has been modified and enhanced into a fresh experience while maintaining its fundamental mechanics.
While the foundational mechanics of CS: GO are influenced by the accuracy and judgment of when and where to engage in gunfights on a map, the grenades utilized in the game are among the most crucial facilitators of those mechanics.
Dust 2 is a direct offspring of the ever-popular Counter-Strike map called Dust. Dust 2 was designed as a more polished and updated version of its predecessor while Counter-Strike 1.6 was still active. It rapidly became the most favored map online and continues to be one of the most beloved maps among first-person shooter enthusiasts globally.
Top Grenade Locations in Dust 2
We will outline the prime Dust 2 grenade locations to ensure your grenade throws are efficient.
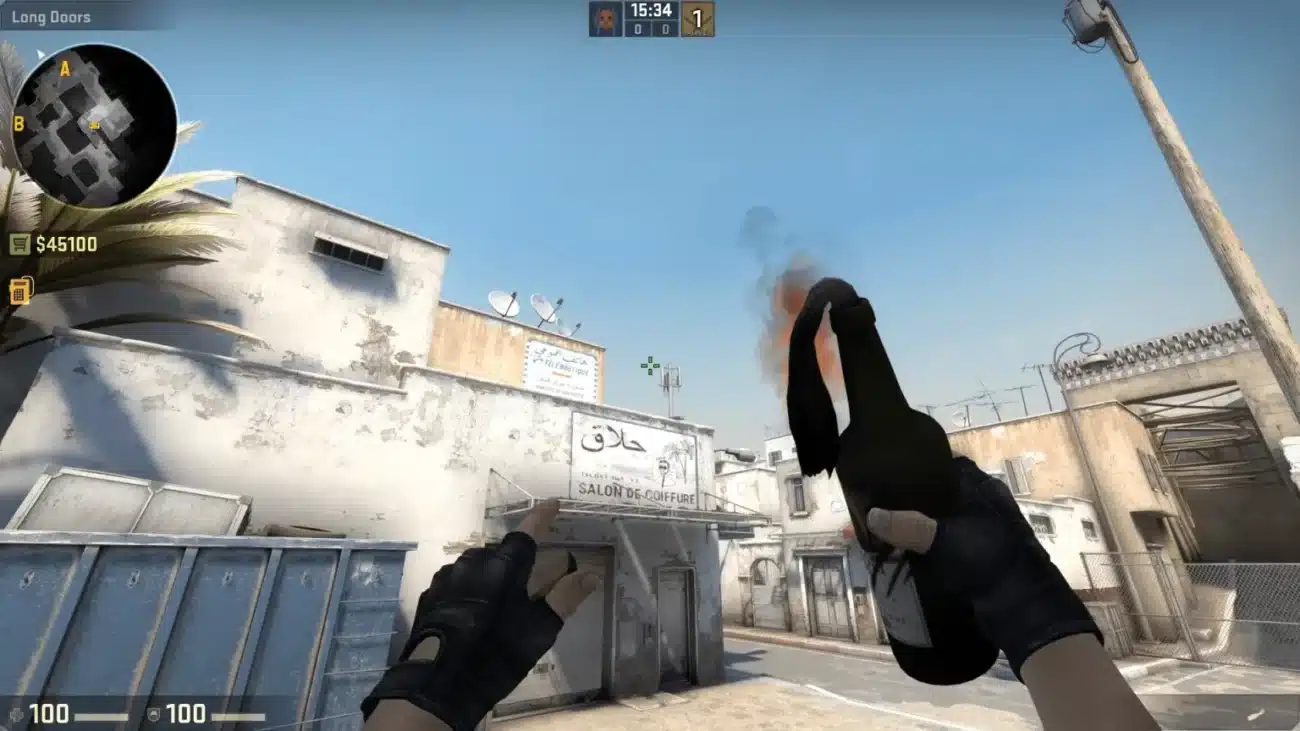
The Xbox Smoke
The dynamics of taking control of the middle shifted after one of the latest significant map updates, which made mid AWP confrontations more challenging due to visibility from T-spawn to middle being obstructed. Consequently, when on the attacking side, it’s advantageous to smoke the Xbox to enable freer movement through shorts.
This is a quick and straightforward smoke grenade. Stand close to the boundary of a wall in T-spawn and aim at the center of the small window ahead. Then, jump and release the grenade, which should position itself directly in the middle of the Xbox, obstructing the vision of counter-terrorists monitoring that area.
The Long A Corner Smoke
If your aim is to advance toward the A-side, utilize the long corner smoke to boost your chances of moving through the long doors. If executed properly, you can hinder CT’s visibility and navigate through the long doors unchecked, provided that the opponents refrain from spamming through it.
This smoke can be accessed in the T spawn, and you should shift to the right side of the structure near the outer long.
There should be a pipe against the wall; aim for the second valve. Jump while deploying the smoke, and it should settle between the Side pit and Blue, obstructing anyone peeking from long A’s view.
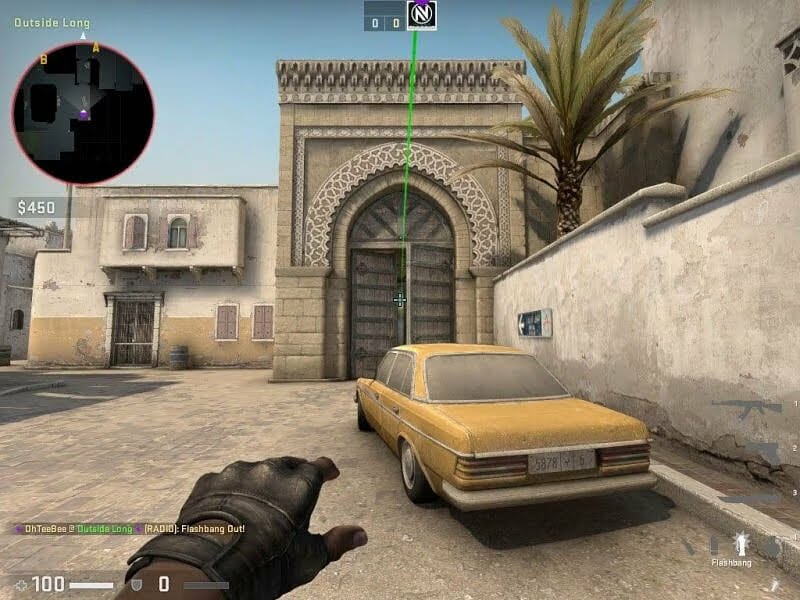
The Long A Flash
While smokes are effective for obscuring enemies’ sight and securing territory for control, they may not always suffice. Ultimately, they might notice the impending smokes and reposition, or fire blindly through the smoke, which is not challenging to do on long while playing as CT.
Therefore, it’s advisable to accompany smokes with flash grenades, which will thoroughly blind adversaries for a few moments. They are also incredibly valuable in eco rounds, where your objective is to swiftly rush to A via long.
Flashes launched from the position below, akin to the long A smoke, will land at the same spot and daze enemies attempting to peer through the long doors. Approach the far side of the car and aim for the upper edge of the wall behind it. To maximize your flashbang’s effectiveness, jump while throwing the smoke and sprint toward the long doors.
The Deep CT Cross Smoke
After successfully securing the long A as the T side, you’ll need to act quickly. The CT players on the B side will likely commence heading towards A, and you’ll want to obstruct their visibility.
This smoke will enable you to cover the view beneath short A. After moving through the long doors, pivot to the left and locate the center of the tiles before turning right. Then, without jumping, aim behind the antenna and launch your smoke.
The Cross Smoke
The cross smoke is an adaptation of the deep CT cross smoke. As you won’t have to pause like with the previous one, this variation may perform better when you require a swift push alongside your teammates.
After navigating through the long doors, retrieve your smoke and aim it at the edge of the crosswalk. Commence walking toward the long A and leap through the smoke.
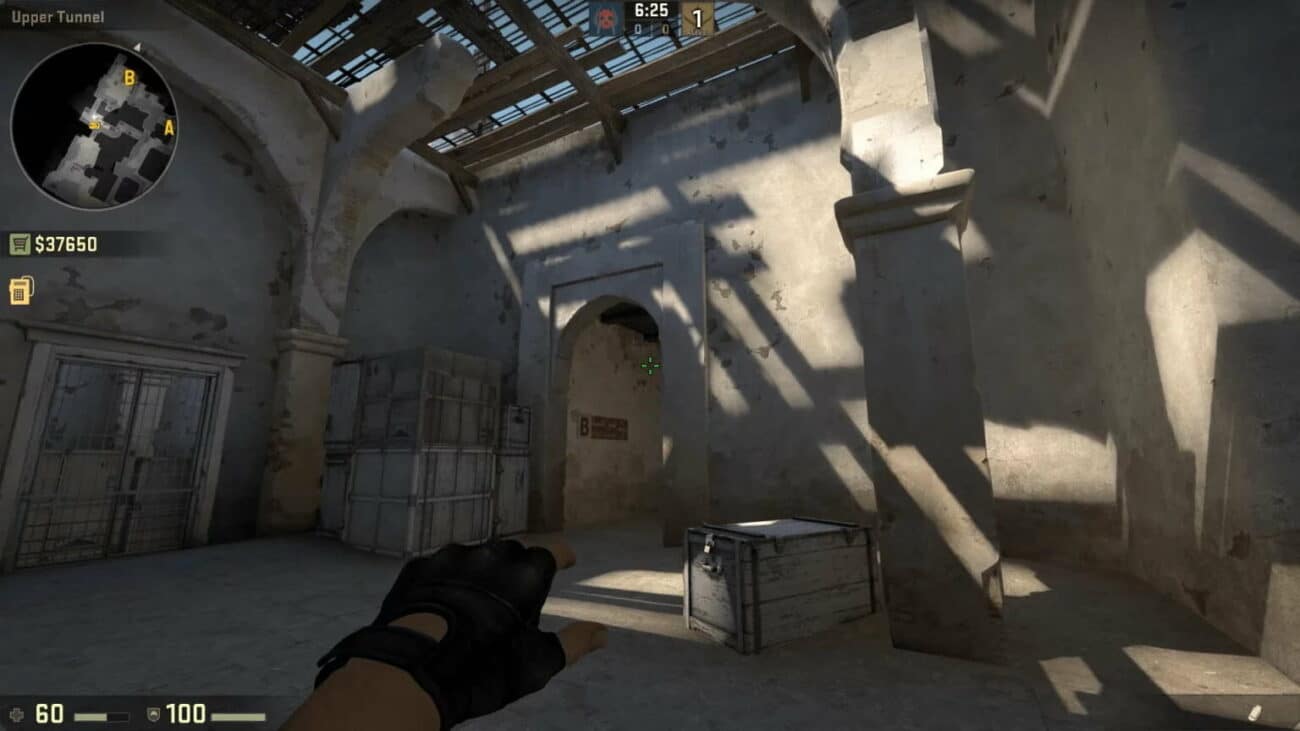
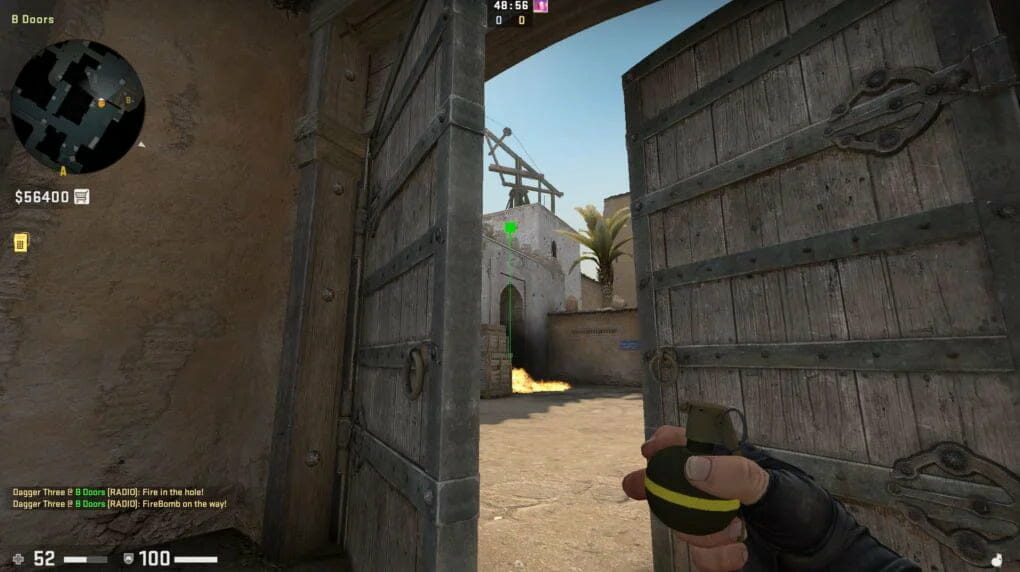
The B Door Smoke
Typically, the CT team will have a supporting player in the middle who has the capacity to assist both A and B sites depending on the direction of the T push. This player enjoys a clear line of sight thanks to the B door, and the smoke ensures they are denied a clear peak.
Ascend to the upper B tunnels and position yourself beside the box near the door, facing the ceiling. Slot your smoke into the gap at the bottom right corner.
The B Entrance Smoke
The B site on Dust 2 is infamous for being among the more challenging to reclaim, especially if you lack greater numbers than the terrorists. Players attempting to retake from CT will encounter numerous positions to inspect, along with the entrance to the site, where one or two enemies might be lying in wait for the opportune moment to emerge.
It’s advisable to obscure their vision to hinder any movements while you assess the site, or to flush them out. To achieve this, position yourself outside the window and aim for the edge of the wooden crane’s central section.
Once you’re prepared, throw the smoke, which will activate in approximately two seconds.
Middle CT Smoke
A strong offense is occasionally the most effective defense. If you’re executing an eco, or wish to ambush your opponents by boldly seizing control of the mid or lower tunnels, you’ll require some cover, particularly from the top mid. Thus, it’s prudent to smoke T’s view so that adversaries cannot spot you from top mid or right side mid.
This smoke is straightforward to execute. Simply turn right by the wall and position yourself at the corner after leaving the CT spawn in the middle. Aim your smoke at the upper left of the ladder and throw it there.
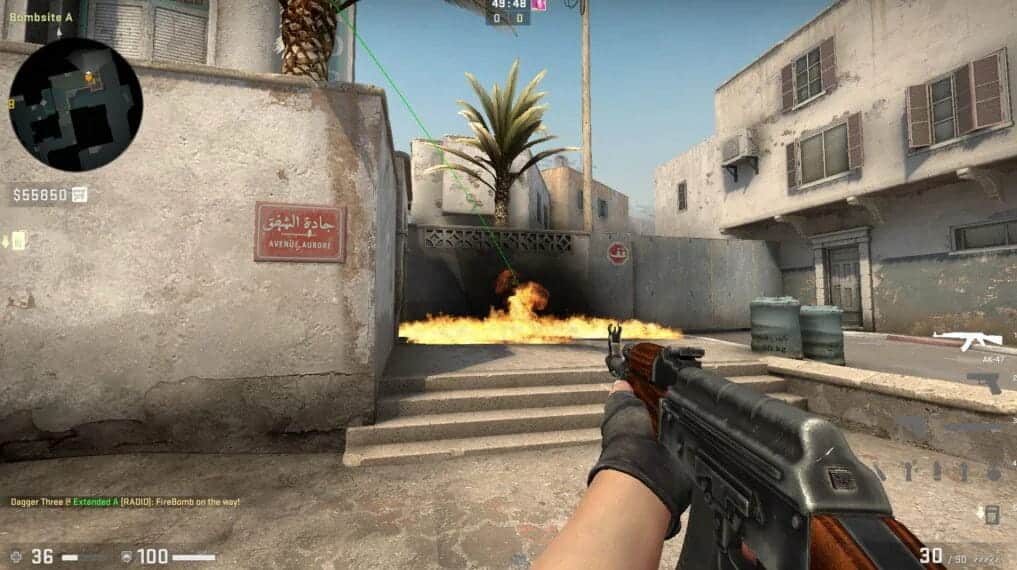
A Site Molotov
In many instances, one opponent will lurk directly at the A site, anticipating your approach to catch you off guard. You can easily lure him out with a Molotov cocktail.
Position yourself by the left wall and aim for the bottom of the final stair, as illustrated in the image below, when advancing through short. Begin your push when you’re set, and jump-throw the grenade once you reach the box in front of you.
These
are some of the most strategic smoke/grenade spots in Dust 2, but with a bit of creativity and physics, you can launch even more effective ones.
Most of the time, you’ll need to make choices in the heat of the moment, so a straightforward CS:GO grenade throw may be more advantageous than a complex one.
What Are Grenades In CSGO
Among the top-rated arms that can be utilized in various locations on CSGO, particularly on the Dust 2 map, are grenades. They are found alongside other weapons and gear available in the Buy Menu. Players in CSGO can carry up to four grenades, making it crucial to deploy them effectively when battling on expansive maps like Dust 2.
Once you’ve thrown a grenade, you can switch to your primary weapon right away. If you lack a primary or secondary weapon, you will default to your knife.
Types Of Grenades
Various grenade types exist, each excelling at a particular purpose and can be employed in different areas of the Dust 2 map in CSGO. Below is a compilation of all kinds of grenades available in CSGO.
Snowball
Diversion Device
Fire Bomb
Tactical Awareness Grenade
Molotov
Incendiary Grenade
Decoy Grenade
Smoke Grenade
Flash Bang
High Explosive Grenade
Frag Grenade
Different Methods Of Throwing A Grenade
There are five optimal methods to throw a grenade in CSGO across various locations on the Dust 2 map.
Left Click – The foremost and most effective way to throw a grenade in a Dust 2 spot is by utilizing a left click in CSGO. For a long-distance throw, activate the left click on your device. Typically, you’ll need to do a brief run and jump before releasing the grenade.
Right Click – If you don’t aim to launch the grenade as far as possible and wish to inflict damage on nearby foes, employing the right click button is the way to go. It demands minimal movement and works well for short distances.
Left And Right Click Together – A great technique for throwing a grenade when you identify a prime location on the Dust 2 map is to press both the right and left buttons at once. This allows you to launch the grenade mid-range and engage enemies who are at a reasonable distance. It’s advisable to only undertake this throw while standing completely still; otherwise, there’s a risk of missing your target area.
Left First Then Right Click – If you find yourself in an extremely well-guarded zone, it’s advisable to toss the grenade by releasing left before right. This way, you can land to the center spot.
Right First Then Left Click – Another effective technique for throwing the grenade is to click the right button before the left. This method should only be employed in tight situations where space is limited. A suitable scenario for this type of throw is during Shadow On Mirage.

")


")


